
Tearing down a wall between the kitchen and living room isn’t just a trend, it’s a functional shift in how families use their homes. Open concept floor plans eliminate barriers, create sight lines, and make smaller homes feel significantly larger. But successful execution requires more than demolition. The layout needs to balance flow, define zones without physical walls, and address structural realities like load-bearing walls and HVAC routing. Whether starting from scratch or planning a renovation, understanding the design principles and layout options helps homeowners avoid costly mistakes and create spaces that actually work for daily life.
Table of Contents
ToggleKey Takeaways
- Open concept kitchen living room floor plans increase natural light, improve sightlines, and make homes feel larger while enhancing resale value, especially in homes under 2,500 square feet.
- Successful open concept designs require structural assessment, professional engineering for load-bearing walls, and proper permitting before renovation (budget 4-8 weeks for approval).
- Layer your lighting with task, ambient, and accent options on separate switches to create flexibility between meal prep and relaxation in your open floor plan.
- Define zones without physical walls using furniture arrangement, area rugs, ceiling details, and flooring transitions rather than relying solely on kitchen-living room separation.
- Invest in quality ventilation (range hoods rated for 300 CFM minimum) and sound-absorbing materials to manage cooking odors and noise in open concepts.
- Plan realistic budgets of $8,000-$20,000 for modest conversions or $50,000+ for full renovations, and expect 6-10 weeks from permitting to final completion.
Why Open Concept Kitchen Living Rooms Are Perfect for Modern Homes
Open concept designs solve real problems. Parents can prep dinner while keeping eyes on kids in the living area. Hosts don’t disappear into a separate kitchen during gatherings. Natural light flows from windows in one zone to the entire space, reducing reliance on artificial lighting during the day.
The practical benefits extend to resale value. Buyers consistently favor open layouts, especially in homes under 2,500 square feet where every visual square foot counts. Enclosed kitchens make spaces feel dated and compartmentalized, a tough sell in today’s market.
But open concepts aren’t universally perfect. Cooking smells travel freely, noise carries across zones, and clutter in the kitchen becomes visible from the living area. Successful designs account for these trade-offs with proper ventilation (range hoods rated for at least 300 CFM), sound-absorbing materials, and strategic storage.
Structurally, opening walls often means dealing with load-bearing components. Always consult a structural engineer before removing walls, especially in older homes. You’ll likely need a flush beam or laminated veneer lumber (LVL) header to carry the load across the new opening. Permits are required in most jurisdictions for structural modifications, budget 2-4 weeks for plan review and approval.
Popular Open Concept Floor Plan Layouts to Consider
L-Shaped Kitchen with Adjacent Living Space
The L-shaped layout positions cabinetry and appliances along two perpendicular walls, leaving the third side open to the living room. This configuration works well in rectangular spaces, typically 12×18 feet or larger.
Key dimensions: Allow at least 42 inches between the end of the L and any furniture or opposite wall for comfortable traffic flow. If two cooks work simultaneously, bump that clearance to 48 inches. The short leg of the L usually houses the sink and dishwasher (close to plumbing stacks), while the long leg accommodates the range and refrigerator.
This layout naturally creates a work triangle, the classic efficiency model connecting sink, stove, and fridge in distances of 4-9 feet each. Position the open side toward living seating to maintain sight lines without placing the cooktop on full display.
For defined separation without walls, many professional design galleries feature L-shaped kitchens anchored by area rugs or pendant lighting that visually distinguishes the cooking zone from the lounge area. Change flooring materials at the transition, luxury vinyl plank (LVP) in the kitchen, engineered hardwood in the living room, to subtly mark zones.
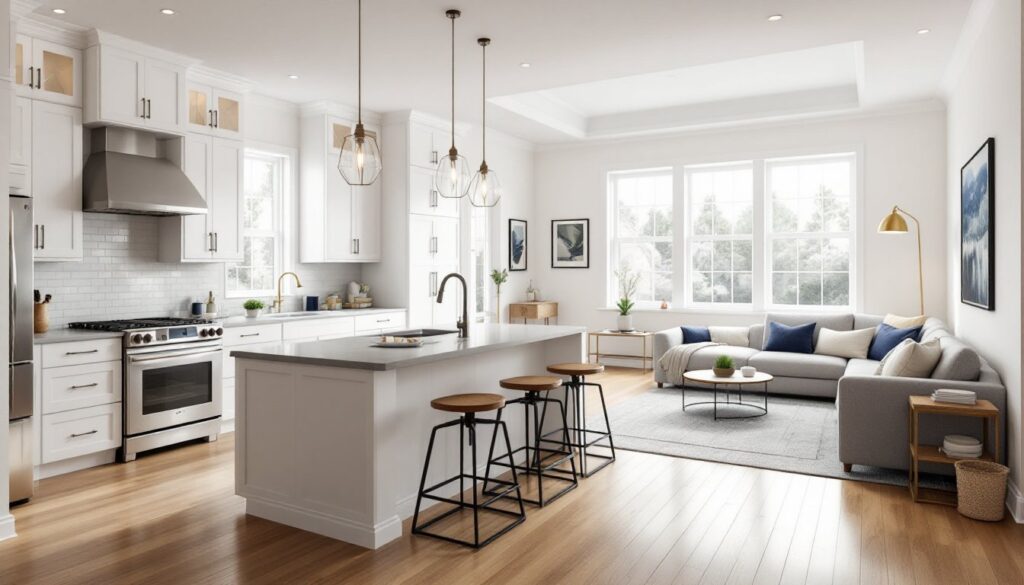
Island-Centered Designs for Natural Flow
A central island transforms an open concept from a bare expanse into a functional hub. Islands provide prep space, casual seating, and a physical (but not visual) boundary between kitchen and living zones.
Sizing matters: Standard islands measure 4 feet wide by 8 feet long, but scale down to 3×6 feet in tighter spaces. Leave 42-48 inches of clearance on all sides for traffic and cabinet access. If incorporating seating, allow 24 inches of width per person and overhang the countertop by 12-15 inches for knee clearance.
Islands work best when they don’t obstruct the work triangle. Position sinks or cooktops in the island only if plumbing and electrical rough-ins allow. Relocating a sink requires rerouting drain lines with proper slope (¼ inch per foot) and venting per the International Plumbing Code (IPC). Gas cooktops in islands need overhead ventilation, either a downdraft vent (less effective but visually clean) or a ceiling-mounted hood (better performance but requires ductwork through the floor above).
Many homeowners explore kitchen-focused design resources for island ideas that balance function and style, from waterfall-edge countertops to integrated wine fridges. Just remember: every electrical outlet, appliance, and plumbing fixture adds cost and complexity. Keep islands simple on a first build, then upgrade later if needed.
Key Design Elements That Make Open Concepts Work
Consistent flooring unifies the space but isn’t mandatory. Some designs use tile or LVP in the kitchen for durability and water resistance, transitioning to hardwood or carpet in the living area. If mixing materials, align transitions with natural sight lines, under an island overhang or along the back of a sofa, rather than creating awkward diagonal seams.
Ceiling definition helps separate zones without walls. Coffered ceilings, recessed lighting grids, or exposed beams over the kitchen draw the eye upward and signal a functional shift. In homes with 8-foot ceilings, painted transitions or subtle soffits (dropped sections housing ductwork or recessed lights) achieve the same effect without losing headroom.
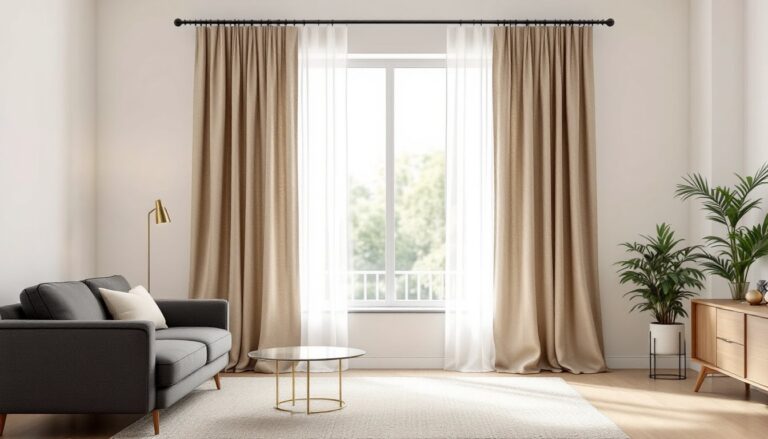
Furniture arrangement acts as invisible walls. Position the sofa with its back toward the kitchen to create a boundary. Add a console table behind it for display and storage, reinforcing the division. Area rugs anchor the living zone, while bar stools at an island or peninsula define the kitchen’s social edge.
Lighting layers give flexibility. Task lighting (under-cabinet LED strips, pendant lights over islands) illuminates work zones. Ambient lighting (recessed cans on dimmers, flush-mounts) covers general needs. Accent lighting (picture lights, track lights on artwork) adds depth. Install lights on separate switches or smart dimmers so the kitchen can stay bright during meal prep while the living area dims for movie night.
Color and material cohesion ties it together. If kitchen cabinets are painted white, echo that in living room trim or built-ins. Match metal finishes, brushed nickel faucets coordinate with nickel lamp bases. Use the same or complementary paint colors throughout to avoid jarring transitions. A single accent color (navy, sage green, charcoal) repeated in both zones creates unity without monotony.
Ventilation and acoustics solve practical annoyances. A quality range hood with external venting (not recirculating filters) removes cooking odors before they settle into upholstery. For noise control, add soft surfaces: upholstered furniture, heavy curtains, acoustic panels disguised as wall art. Hard surfaces (tile, quartz, hardwood) bounce sound, carpet runners, fabric seating, and even strategically placed bookshelves absorb it.
Planning Your Open Concept Renovation: What to Know Before You Start
Start with a structural assessment. Hire a licensed structural engineer (expect $500-$1,500 for residential evaluation) to identify load-bearing walls, floor joist directions, and beam requirements. Non-bearing walls are fair game for DIY removal, but if a wall runs perpendicular to floor joists or sits above a basement support, it’s carrying weight and needs professional engineering.
Permitting is non-negotiable for structural changes. Contact your local building department before swinging a sledgehammer. Most jurisdictions require:
- Structural plans sealed by a PE (professional engineer)
- Electrical and plumbing permits if relocating outlets, fixtures, or appliances
- Mechanical permits if moving HVAC ducts or vents
Inspections happen at rough-in (framing, utilities exposed) and final stages. Budget 4-8 weeks for permitting and inspections, more in busy metro areas.
Budget realistically. Opening a 10-foot load-bearing wall costs $1,200-$3,000 for the beam and labor, plus $800-$1,500 for engineering and permits. Add flooring transitions ($3-$12/sq ft installed), new electrical ($75-$150 per outlet/switch), and drywall finishing ($2-$4/sq ft). A modest open-concept conversion runs $8,000-$20,000: full kitchen-living renovations with new cabinetry, appliances, and finishes easily exceed $50,000.
Interested homeowners often browse design platforms with global inspiration to estimate scope and style before committing to contractors, which helps clarify priorities and realistic timelines.
Timeline expectations: Demo and structural work take 1-2 weeks. Drywall, mudding, and painting add another 1-2 weeks (with drying time). Flooring installation spans 3-7 days depending on material. Plan for 6-10 weeks minimum from permit to final walkthrough, assuming no surprises like hidden plumbing or asbestos (common in pre-1980 homes, test before disturbing materials).
DIY-friendly tasks include demolition of non-bearing walls (after permit approval), painting, and installing floating floors. Leave structural beam installation, electrical rough-in (requires licensed electrician per NEC), and gas line work to licensed pros. Mixing DIY and professional labor saves money but requires careful sequencing, don’t close up walls before inspections.
Safety gear for demo work: Hard hat, safety glasses, N95 respirator (for dust and potential mold), heavy gloves, steel-toe boots, and ear protection if using reciprocating saws or demo hammers.
Conclusion
Opening a kitchen to the living room fundamentally changes how a home functions and feels. Success hinges on respecting structural realities, planning for ventilation and noise, and using design elements, flooring, lighting, furniture placement, to define zones without walls. Done right, an open concept layout adds value, improves daily flow, and creates a space that adapts to how modern families actually live.