
Sharing a bedroom with a roommate, creating a nursery nook in a master suite, or carving out a home office corner, these scenarios all demand smart space division. A bedroom divider transforms one room into distinct zones without the cost and hassle of framing new walls. Whether you’re renting and can’t make structural changes or simply want flexibility, the right divider offers privacy, defines purpose, and can even add storage. From quick fabric panels to semi-permanent sliding doors, the options range from weekend DIY projects to solutions requiring basic carpentry. This guide walks through practical bedroom divider ideas, including options for living room divider ideas that translate well to bedroom layouts, with real material specs, installation considerations, and honest takes on what works, and what doesn’t.
Table of Contents
ToggleKey Takeaways
- Bedroom divider ideas range from budget-friendly curtain rods ($40–$80) and folding screens to permanent sliding doors and partition walls, offering solutions for privacy, sound control, and flexible space management.
- Ceiling-mounted curtain tracks and tension rods provide the fastest installation for renters, while freestanding bookshelf units deliver dual functionality by adding storage without structural modification.
- Sliding barn doors and partition walls offer superior sound dampening and a professional appearance but require tools, basic carpentry skills, and costs of $300–$1,200 depending on materials and complexity.
- For shared bedrooms and multi-purpose spaces, position dividers to preserve window access, maintain at least 36 inches of walkway clearance, and consider half-height or sliding options to keep the room feeling open.
- DIY bedroom divider projects using reclaimed pallets, PVC pipe frames, or hollow-core door accordions cost $30–$150 and allow customization, though they require safety precautions and may lack the polish of commercial products.
- Match divider materials and finishes to existing decor, and prioritize sound control with mass-loaded vinyl-backed curtains or solid-core doors only when blocking noise is essential to the room’s function.
Why Use a Bedroom Divider?
A divider addresses specific functional needs beyond aesthetics. In shared bedrooms, it creates individual zones for sleeping, dressing, or studying, critical when occupants have different schedules. Parents co-sleeping with infants benefit from a partial barrier that maintains visual access while defining the baby’s area. Remote workers converting bedroom corners into offices use dividers to mentally separate work from rest, which improves focus and sleep hygiene.
Dividers also solve layout challenges in studio apartments or loft-style rooms where a single large space lacks definition. They redirect foot traffic, block sightlines from doorways, and can dampen sound when constructed with the right materials. Unlike permanent walls, most dividers install without altering the structure, a key advantage for renters or anyone avoiding permit requirements.
From a practical standpoint, dividers add vertical storage (think bookshelf units) or display area without consuming additional floor space. They’re also reversible: remove a tension-rod curtain or roll a folding screen aside when you want the room to feel open again. The flexibility lets homeowners test layouts before committing to structural changes.
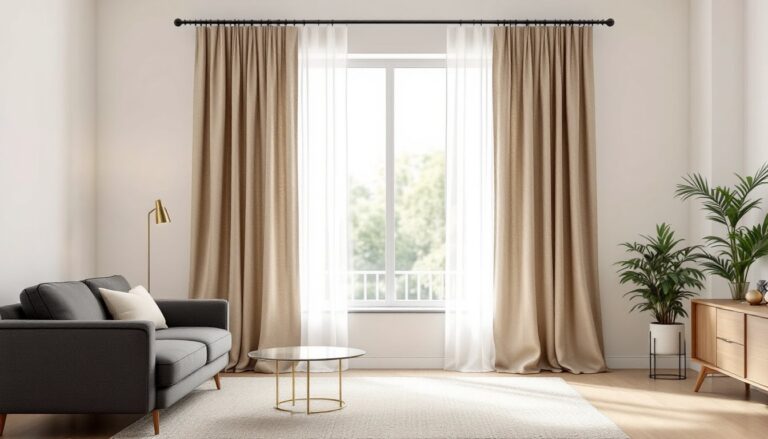
Curtain and Fabric Dividers for Flexible Privacy
Curtains offer the fastest, most budget-friendly divider install. Mount a ceiling-track curtain rod or tension rod (for spans under 8 feet) and hang panels made from medium-weight fabric, cotton duck canvas or polyester blackout material work well. Sheer fabrics provide visual separation without blocking light, while blackout curtains deliver near-total privacy and some sound dampening.
Installation basics: For ceiling tracks, locate joists with a stud finder and fasten the track with #8 wood screws every 16 inches. If joists run perpendicular to your desired track line, install blocking between joists or use toggle anchors rated for at least 20 pounds in drywall. Tension rods rely on friction and suit lightweight fabrics only, they’ll sag or pop loose under heavier textiles.
Fabric selection matters. A single layer of standard curtain fabric (around 5 oz per square yard) won’t meaningfully reduce noise. Double-layered thermal curtains (12–15 oz) or curtains backed with mass-loaded vinyl (MLV) offer better sound control, though they add weight and cost. Expect to pay $40–$80 per panel for quality blackout curtains in standard sizes: custom lengths run $15–$25 per linear foot.
Pros: No structural modification, easy to slide open, simple to remove or replace.
Cons: Fabric collects dust, requires laundering, and offers minimal sound insulation unless you invest in acoustic-grade materials. Tension rods aren’t suitable for spans over 8 feet or fabrics heavier than 10 oz.
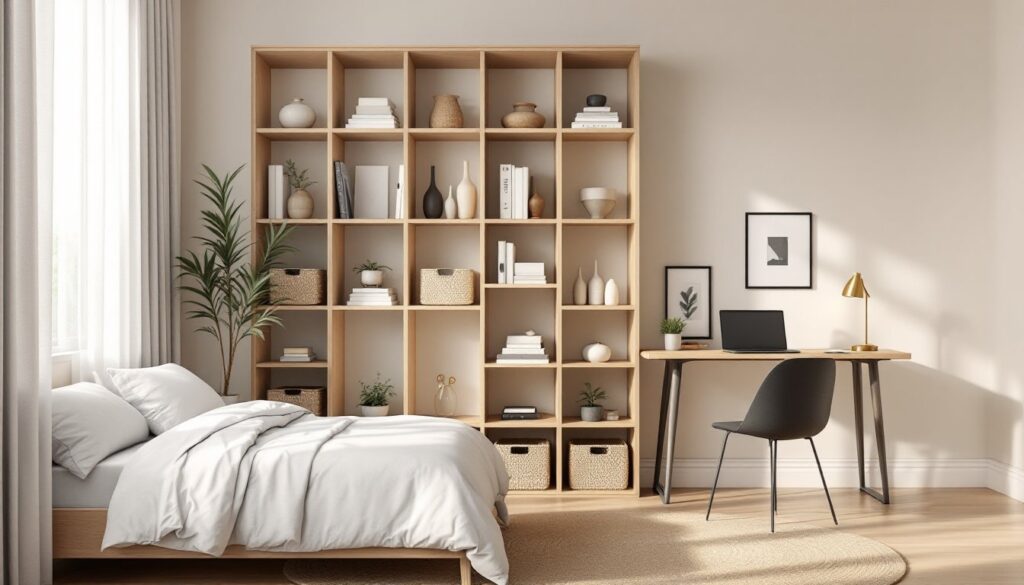
Bookshelf and Storage Dividers That Do Double Duty
A freestanding bookshelf, open-back, floor-to-ceiling units are ideal, functions as both divider and storage. Standard units measure 72 to 84 inches tall and 12 to 16 inches deep. Position them perpendicular to a wall to bisect the room, leaving a walkway on one or both ends. Anchor tall units to the wall with furniture straps or L-brackets to prevent tipping, especially in homes with children or pets.
Material and construction: Solid wood or plywood-core shelves (¾-inch thickness minimum) handle heavy loads without sagging. Particleboard units work for lighter items but bow over time under the weight of books or storage bins. Look for adjustable shelving so you can customize compartment heights.
Design tip: Alternate closed and open cubbies. Closed storage (baskets, bins, cabinet doors) hides clutter on one side while open shelves display decor or books on the other. This asymmetry adds visual interest and maintains light flow. For a more polished look, many homeowners explore creative furniture arrangement strategies that maximize both function and style in divided spaces.
Cube organizers (like IKEA Kallax or similar) stack to custom heights and come in various finishes. A 4×4 cube unit (roughly 58 inches square) provides 16 compartments and enough height to obscure a seated person. Pair two 2×4 units side-by-side for a lower, 30-inch divider that preserves sightlines while defining zones.
Pros: Adds functional storage, no installation required (just anchoring), easy to reconfigure.
Cons: Depth consumes floor space (24–32 inches total when accounting for both sides), and open-back units don’t block sound or light. Expect to spend $150–$500 depending on size and material quality.
Sliding Doors and Partition Walls for Permanent Solutions
Sliding barn doors mounted on ceiling or wall-mounted track hardware create a solid visual and acoustic barrier. Standard interior slab doors (80 inches tall, 1⅜ inches thick) weigh 50–70 pounds: the track and rollers must support at least twice that weight. Install the track into ceiling joists or use heavy-duty toggle bolts rated for 100+ pounds if attaching to drywall.
Track types: Ceiling-mounted tracks keep floor space clear but require secure attachment to structural members. Wall-mounted tracks are easier to install on standard stud spacing (16 inches on center) but add visual bulk. Soft-close hardware ($30–$60 extra) prevents slamming and extends hardware life.
Materials: Solid-core doors offer better sound dampening than hollow-core, though they weigh 20–30 pounds more. MDF or composite doors accept paint well and cost $80–$150: reclaimed wood or custom doors run $200–$600. Budget $150–$300 for quality track hardware.
Partition walls (non-load-bearing): Framing a half-wall or pony wall (48–60 inches tall) with 2×4 studs on 16-inch centers provides a permanent divider without closing off the room entirely. Attach the bottom plate to the floor with construction adhesive and 3-inch screws into the subfloor. Finish with drywall, then paint or panel to match existing walls. This approach requires basic carpentry skills and may need a permit if the partition affects egress or fire safety, check local codes.
Pros: Solid separation, professional appearance, good sound control.
Cons: Installation requires tools (drill, level, saw), removes less easily than other options, and costs $300–$800 for sliding door setups or $400–$1,200 for framed partitions (materials only).
Creative DIY Divider Projects on a Budget
Pallet wall divider: Reclaimed wood pallets (often free from hardware or garden stores) disassemble into planks. Sand them smooth (wear a dust mask, some pallets are chemically treated), then reassemble into a panel by screwing planks to a simple frame made from 1×3 furring strips. Add casters to the base for mobility. Finish with stain or primer and paint. Total material cost: $30–$60.
PVC pipe and fabric panels: Build a lightweight frame from ¾-inch PVC pipe and fittings, then drape or clip fabric panels to the frame. This works well for temporary dividers in rentals. A 6-foot-tall frame costs around $25 in pipe and fittings: fabric adds $20–$50. Use PVC primer and cement to bond joints permanently, or leave them friction-fit for disassembly.
Folding screen from hollow-core doors: Purchase three or four 18- to 24-inch-wide hollow-core doors (often sold as closet or bifold doors, around $20–$30 each). Connect them with continuous (piano) hinges screwed to the door edges. Sand, prime, and paint, or wrap panels in fabric or wallpaper for texture. This creates a portable, accordion-style divider for under $150.
Macramé or beaded curtains: For a boho aesthetic with zero structural work, hang macramé panels or beaded strands from a ceiling-mounted rod. These offer symbolic separation, great for defining a meditation or reading nook, but no privacy or sound control. Kits run $40–$100, and installation takes under an hour. Homeowners seeking more eclectic approaches often draw inspiration from budget DIY decor projects that balance style with practicality.
Safety note: Always wear safety glasses when cutting wood or pipe, and use a dust mask when sanding reclaimed materials. If painting, work in a ventilated area or use low-VOC primer and paint.
Pros: Low cost, customizable aesthetics, satisfying weekend project.
Cons: DIY dividers may lack the polish of commercial products, and some designs (like pallet walls) are heavy and best suited to ground-floor rooms.
Choosing the Right Divider for Your Bedroom Layout
Start by measuring the room and sketching a floor plan with existing furniture. Ceiling height matters, dividers taller than 7 feet can make standard 8-foot ceilings feel cramped. In rooms with 9- or 10-foot ceilings, floor-to-ceiling dividers (like bookcase towers or sliding doors) work well without overwhelming the space.
Traffic flow: Leave at least 36 inches of clearance for walkways. If the divider creates a narrow corridor, consider a half-height option or a curtain that slides fully open during the day. For shared bedrooms, position the divider so each zone has access to a window if possible, this maintains natural light and ventilation.
Function vs. flexibility: Permanent solutions (sliding doors, partition walls) suit homeowners planning to stay put for several years. Renters and those who rearrange often benefit from freestanding or tension-mounted options. If you’re testing whether a divided layout works, start with a curtain or folding screen before investing in built-ins.
Sound and light control: Fabric and open shelving do little to block noise. For true sound dampening, choose solid-core doors, upholstered panels, or build a partition wall with batt insulation (like Roxul Safe’n’Sound) between studs. If one zone needs darkness for sleep while the other stays lit, blackout curtains or solid doors are essential. Many design-savvy DIYers reference room design concepts to balance privacy with open, airy layouts.
Aesthetic cohesion: Match materials and finishes to existing trim, doors, or furniture. A rustic pallet divider clashes with modern minimalist decor, while sleek sliding glass doors may look out of place in a cottage-style room. Paint or stain DIY dividers to coordinate with wall color or wood tones already present.
Conclusion
Bedroom dividers range from a $30 tension rod and curtain to a $1,200 custom sliding door system. The right choice depends on whether privacy, sound control, storage, or flexibility tops the priority list. Renters and budget-conscious DIYers lean toward curtains, folding screens, or bookshelf units, while homeowners investing in long-term layouts often choose sliding doors or framed partitions. Whichever route fits the project, proper measurement, secure anchoring, and honest assessment of skill level prevent costly do-overs.