Mirrors aren’t just functional, they’re one of the most versatile tools in interior design. A well-placed mirror can double perceived square footage, bounce natural light into dim corners, and serve as a statement piece that elevates the entire room. In living rooms where space, light, and visual interest matter most, mirror wall decor delivers measurable impact without the cost or commitment of a full renovation. Whether working with a cramped urban apartment or a spacious suburban home, the right mirror configuration can reshape how the space feels and functions.
Table of Contents
ToggleKey Takeaways
- Mirror wall decor amplifies natural light and creates the illusion of deeper, more spacious living rooms without the cost of a full renovation.
- Strategic placement opposite windows and perpendicular to natural light sources maximizes the brightening effect, especially in north-facing rooms.
- Mirror style selection—from modern frameless designs to vintage ornate frames—should align with your existing decor and functional goals.
- Proper installation requires anchoring mirrors into wall studs for pieces over 20 lbs, with heavy mirrors exceeding 75 lbs benefiting from professional installation.
- Multiple mirrors arranged in gallery walls, grids, or asymmetrical clusters create more visual impact than single pieces and require consistent 2-4 inch spacing.
- Test mirror arrangements using painter’s tape or temporary hanging strips before permanent installation to avoid unnecessary wall damage.
Why Mirror Wall Decor Works Perfectly in Living Rooms
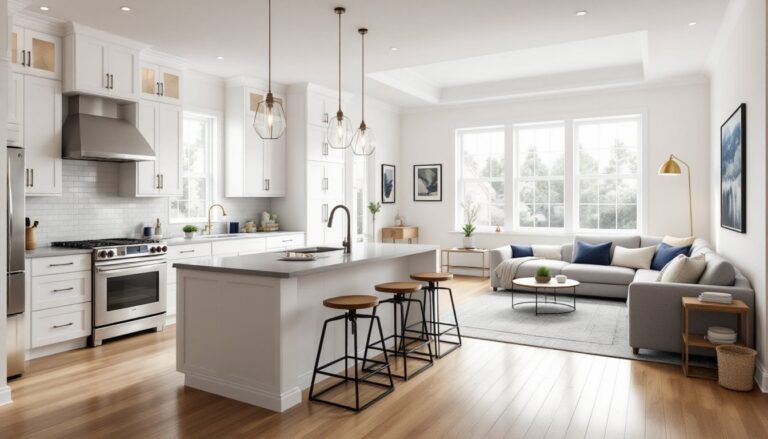
Living rooms demand flexibility. They’re gathering spaces, entertainment zones, and often the first room guests see. Mirrors address multiple design challenges simultaneously.
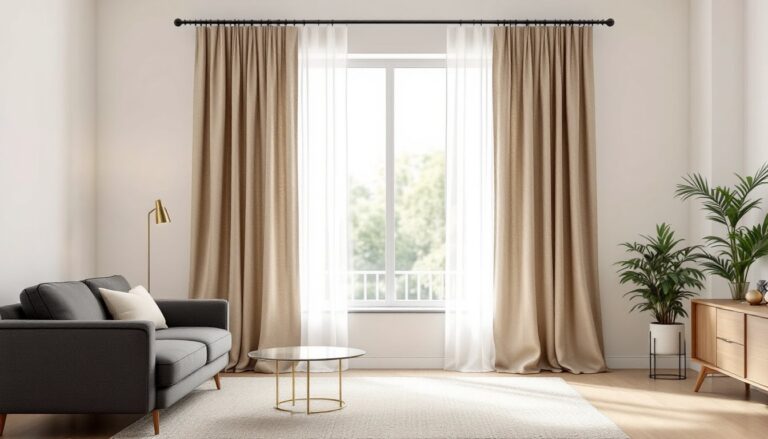
Light amplification is the most immediate benefit. A mirror positioned opposite or adjacent to a window reflects daylight deeper into the room, reducing reliance on artificial lighting during the day. South- and east-facing windows provide the strongest effect. In north-facing rooms with limited natural light, even a modest 24″ × 36″ mirror can noticeably brighten the space.
Spatial expansion works through visual trickery. Mirrors placed on walls perpendicular to the longest sightline create the illusion of depth. In narrow living rooms, a horizontal mirror arrangement along the short wall visually widens the space. Large floor-to-ceiling mirrors achieve dramatic results but require proper anchoring to wall studs, more on installation later.
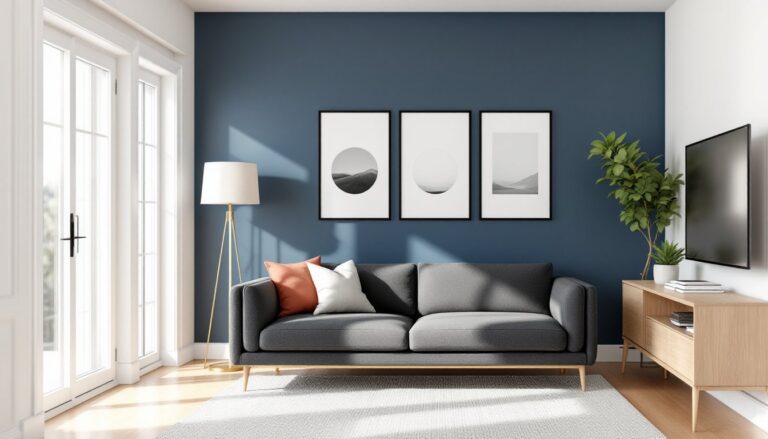
Architectural compensation is another practical advantage. Rooms lacking built-in features like molding, wainscoting, or interesting wall textures benefit from mirrors as focal points. A clustered arrangement of smaller mirrors or a single oversized piece adds dimension to flat drywall.
Mirrors also hide minor wall imperfections. Textured walls, old paint lines, or patched spots disappear behind reflective surfaces. Just be sure the wall is structurally sound, mirrors won’t fix moisture damage or failing drywall.
Choosing the Right Mirror Style for Your Living Room
Mirror selection depends on existing decor, wall dimensions, and functional goals. Style breaks into two broad categories, though plenty of hybrid options exist.
Modern and Minimalist Mirror Designs
Contemporary spaces favor clean lines and understated frames. Frameless mirrors offer maximum reflection with zero visual clutter. Edge polishing prevents chipping and provides a finished look. These work especially well in Scandinavian, mid-century modern, or industrial interiors.
Geometric shapes add interest without ornamentation. Hexagonal, circular, or asymmetrical mirrors create focal points in rooms dominated by rectangular furniture and right angles. When using multiple geometric mirrors, odd-numbered groupings (three, five, or seven pieces) typically look more balanced than even numbers.
Metal-framed mirrors with thin profiles suit modern aesthetics. Brushed nickel, matte black, and oil-rubbed bronze finishes integrate with common hardware and lighting fixtures. Frame width should stay under 2″ to maintain the minimalist effect.
For those exploring contemporary mirror arrangement patterns, grid layouts of identical square or rectangular mirrors deliver visual impact through repetition. Standard sizes include 12″ × 12″ tiles or 18″ × 24″ rectangles. Leave 2-4″ spacing between tiles for a cohesive look.
Vintage and Ornate Mirror Options
Traditional, eclectic, and maximalist spaces accommodate decorative frames. Carved wood frames in walnut, mahogany, or painted finishes add warmth and texture. Ornate corners and beveled edges suit formal living rooms with crown molding and detailed trim.
Antique-style mirrors with distressed finishes or antiqued glass provide character. Genuine vintage mirrors (pre-1970s) often feature imperfect silvering that creates subtle cloudiness, a desirable patina for some, a flaw for others. Reproduction antique mirrors offer the look with modern clarity.
Sunburst and starburst designs remain popular accent pieces. Metal rays radiating from a central mirror add dimension to walls. Sizes range from 24″ diameter accents to 48″ statement pieces. These work as standalone focal points above sofas or mantels.
Frame depth matters for ornate styles. Profiles extending 3-6″ from the wall cast shadows that enhance visual interest but require adequate clearance. Confirm the mirror won’t interfere with door swings or window treatments.
Strategic Placement Tips to Maximize Light and Space
Mirror effectiveness depends more on placement than size. A poorly positioned mirror can create glare, reflect unflattering views, or waste wall space.
Window proximity is the primary consideration. Position mirrors to catch and redirect natural light without creating blinding reflections. Mirrors on walls perpendicular to windows (east or west walls if windows face south) work best. Avoid placing mirrors directly opposite bright windows, morning or afternoon sun will reflect straight into eyes.
Sightline planning determines what the mirror reflects. Stand in the room’s main entry and sitting positions. The mirror should reflect intentional views: artwork, a garden window, an attractive light fixture. Don’t reflect clutter zones, kitchen messes, or blank walls.
Height placement follows art hanging rules. Center the mirror at 57-60″ from the floor (standard eye level). For mirrors above furniture, leave 4-8″ clearance above the sofa back or console table. Oversized leaning mirrors rest on baseboards with a slight backward angle for stability.
Traffic flow matters in active living rooms. Floor mirrors and large leaning designs should sit in low-traffic corners. Wall-mounted mirrors in walkways need secure installation, a falling mirror is both dangerous and expensive.
Scale proportions guide size selection. Mirrors above furniture should span 50-75% of the furniture width. A 72″ sofa pairs well with a 36-54″ wide mirror or arrangement. Undersized mirrors look disconnected: oversized pieces can overwhelm.
Many designers recommend experimenting with various layouts before committing to permanent installation. Use painter’s tape to outline mirror dimensions on the wall, then live with the mockup for several days.
DIY Mirror Wall Installation Guide
Mirror installation difficulty scales with size and weight. Small decorative pieces (under 10 lbs) qualify as easy weekend projects. Large architectural mirrors (over 30 lbs) require careful planning and often a second person.
Tools and materials needed:
- Stud finder (magnetic or electronic)
- Drill with masonry and wood bits
- Level (24″ minimum: 48″ preferred for large mirrors)
- Measuring tape
- Pencil
- Appropriate hanging hardware (based on weight)
- Safety glasses and work gloves
Weight determines hardware type. Mirrors under 20 lbs can hang on standard picture hangers rated for drywall. For mirrors 20-50 lbs, use heavy-duty wall anchors or mount directly into studs with wood screws. Mirrors over 50 lbs require stud mounting with #10 or #12 wood screws (2.5-3″ length) and heavy-duty D-rings or French cleats.
Installation steps:
-
Locate wall studs using a stud finder. Mark stud centers with light pencil marks. Standard stud spacing is 16″ on center, though 24″ spacing exists in some construction.
-
Measure and mark mirror placement. Use a level to draw a light horizontal guideline where the top of the mirror will sit. Measure down from this line to mark hanging hardware positions.
-
Drill pilot holes into studs for heavy mirrors. Pilot hole diameter should be slightly smaller than the screw shaft (for #10 screws, use a 1/8″ bit).
-
Install mounting hardware on the wall first. French cleats work exceptionally well for large mirrors, one half mounts to the wall studs, the other attaches to the mirror back. The interlocking design distributes weight evenly.
-
Attach hardware to mirror if not pre-installed. D-rings mount to the mirror frame (never glass) using included screws. Position rings 4-6″ down from the top edge, one-third the total width from each side.
-
Hang and level the mirror. Have a helper support the weight while checking level. Make minor adjustments before releasing full weight onto hardware.
Safety warning: Always wear safety glasses when drilling overhead. Mirrors break into sharp, dangerous shards, handle carefully and keep clear of the drop zone during installation.
For frameless mirrors or extremely heavy pieces exceeding 75 lbs, consider professional installation. The cost typically ranges $100-250 but includes liability insurance and proper anchoring. Some applications may require specialty mounting techniques depending on wall construction, plaster, brick, or concrete require different hardware than standard drywall over studs.
Popular Mirror Arrangement Patterns and Layouts
Multiple mirrors create more design impact than single pieces of equivalent total area. Arrangement patterns range from symmetrical grids to organic clusters.
Gallery wall style mixes different mirror shapes and sizes. Start with the largest piece as an anchor (typically center or slightly off-center), then arrange smaller mirrors around it. Maintain consistent spacing (2-4″) between pieces. This approach works with three to nine mirrors: more than nine can look chaotic.
Grid arrangements use identical mirrors in precise rows and columns. Four to twelve square or rectangular mirrors create architectural impact. Measure carefully, inconsistent spacing ruins the effect. This layout suits modern interiors and works especially well flanking a fireplace or media center.
Vertical stacking elongates walls and draws eyes upward. Three to five mirrors in graduating sizes or identical dimensions create a column effect. This pattern fits narrow wall sections between windows or beside doorways.
Horizontal runs widen narrow rooms. Three or more mirrors arranged in a single row at consistent height make compact living rooms feel broader. This works above low-profile furniture like media consoles or along hallway-like spaces.
Asymmetrical clusters offer the most design flexibility. Vary mirror sizes, shapes, and frame styles while maintaining a cohesive color palette. Lay the arrangement on the floor first, adjusting until it feels balanced. Photograph the layout before moving to the wall.
Spacing consistency matters across all patterns. Use a ruler or spacer (wood strips cut to desired width) to maintain uniform gaps. Most successful arrangements use 2-3″ spacing for mirrors under 24″ and 3-5″ spacing for larger pieces.
Before committing to wall mounting, test arrangements with temporary hanging strips rated for the mirror weight. This allows adjustments without putting unnecessary holes in the wall. Plan for at least one stud-mounted anchor point per arrangement, even when using wall anchors for individual pieces, distributed weight is safer than relying entirely on drywall anchors.